Introduction
Cake pops are a delightful treat that perfectly blend the rich taste of cake with the fun and convenience of lollipops. Initially popularized by bakeries and cafes, these treats have become a staple at celebrations, particularly weddings, birthday parties, and baby showers. Their unique presentation and the endless possibilities for customization not only make them visually appealing but also a hit among all age groups. In this cake pop recipe guide, we’ll walk you through the entire process of making cake pops, from choosing the right ingredients to decorating them like a pro.
What are Cake Pops?
Cake pops are essentially a form of cake styled as a lollipop. The base is made from cake crumbs mixed with icing, which is then formed into small balls. These balls are attached to sticks and then dipped in chocolate or candy melts before being decorated to preference. This versatile treat can range from simple, elegant designs to elaborate, character-themed creations. They offer a fantastic way to use leftover cake while also presenting the opportunity to experiment with different flavor combinations.
Variations of Cake Pops

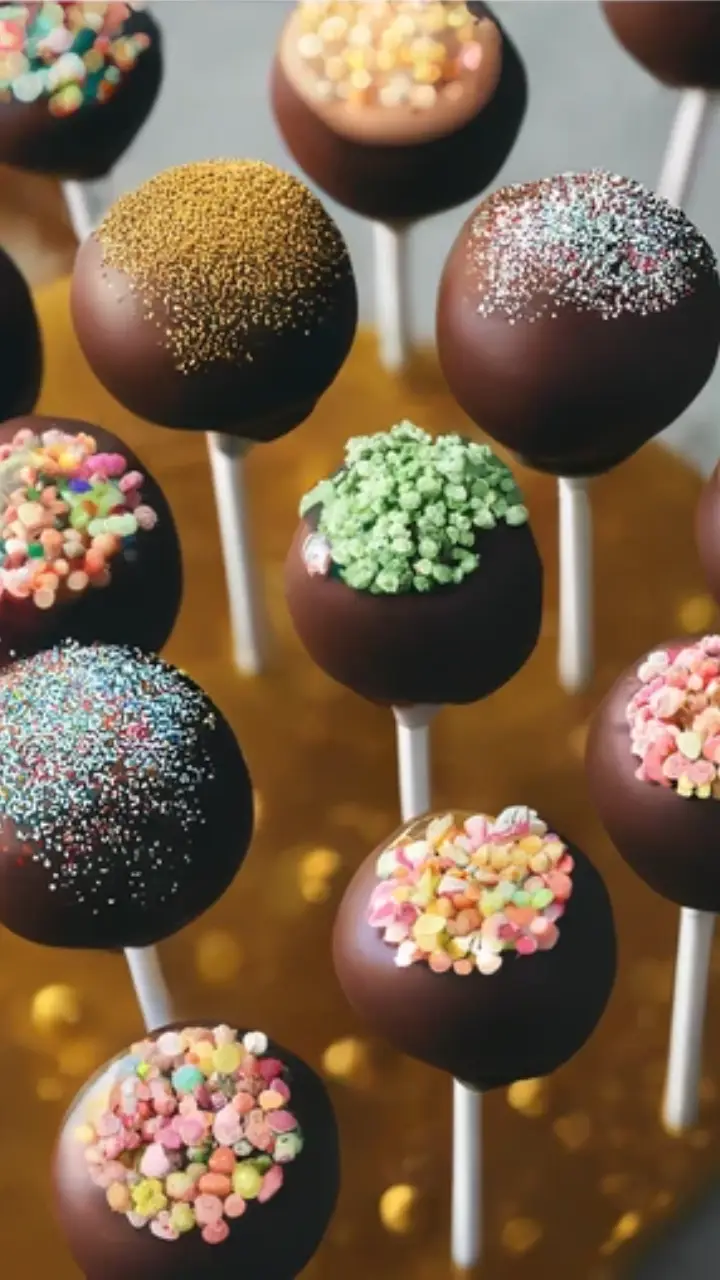
- Classic Cake Pops: Made with vanilla or chocolate cake, combined with complementary frosting, and dipped in milk, dark, or white chocolate.
- Gourmet Cake Pops: Incorporate luxury ingredients like matcha, espresso powder, or citrus zest into the cake mixture for an elevated flavor profile.
- Themed Cake Pops: Designed for special occasions, these might look like flowers, cartoon characters, or holiday-specific symbols, using a variety of coloring and decorative techniques.
Essential Ingredients
Creating cake pops requires some basic ingredients that you might already have in your pantry. Here’s what you’ll need:
Cake
The cake is the main ingredient and the base of your cake pops. You can either bake a cake specifically for this purpose or use leftover cake. It doesn’t matter if the cake is slightly dry, as it will be mixed with frosting which adds moisture.
- Boxed Cake Mix: A quick and convenient option. Simply follow the instructions on the package to bake your cake. This method is perfect for those who prefer ease and consistency.
- Homemade Cake: If you have a bit more time, making a cake from scratch allows for customization of flavors and ingredients. Whether it’s a buttery pound cake or a moist chocolate cake, any variety works as long as it crumbles well and can hold its shape when formed.
Frosting
Frosting acts as a binder for the cake crumbs and adds moisture and sweetness. The amount of frosting needed can vary depending on the moisture content of the cake.
- Buttercream: Rich and creamy, it’s ideal for mixing with crumbled cake. You can adjust the sweetness according to your taste.
- Cream Cheese Frosting: Adds a tangy flavor that pairs well with red velvet or carrot cake.
- Chocolate Ganache: For chocolate lovers, ganache can be a decadent alternative to traditional frosting.
Coatings and Decorations

The outer coating not only adds flavor but also helps in holding the cake pop together.
- Candy Melts: Available in various colors and flavors, candy melts are the most popular choice for a smooth, polished finish.
- Tempered Chocolate: A more traditional choice, tempered chocolate provides a rich, high-quality coating but requires careful handling to maintain the right consistency.
- Decorations: Sprinkles, crushed nuts, and mini chocolate chips are popular choices. Edible glitter or themed decorations can also be used to match specific party themes.
In the next sections, we will delve into the equipment needed, the step-by-step process of making cake pops, and expert tips to ensure your cake pops are both delicious and beautifully presented.
Tools and Equipment Needed

Creating cake pops doesn’t require specialized equipment, but having the right tools can simplify the process and improve the end result. Here’s what you’ll need:
Basic Tools:
- Cake Pop Sticks: These are the lollipop sticks that hold the cake pops. They come in various lengths to suit different serving styles and decorations.
- Scoop or Small Ice Cream Scoop: For scooping consistent, even balls of cake mixture.
- Styrofoam Block or Cake Pop Stand: To hold the cake pops while they are drying and setting after dipping.
Optional Tools:
- Cake Pop Maker: For those who prefer a baked version of cake pops, a cake pop maker can create uniform spheres of cake without needing to crumble and mix with frosting.
- Double Boiler or Microwave-Safe Bowl: For melting chocolate or candy melts.
- Thermometer: Essential for tempering chocolate to ensure it has the perfect consistency and shine.
Step-by-Step Guide to Making Cake Pops

Follow these detailed cake pop recipe to make perfect cake pops every time:
1. Bake the Cake
Begin by baking your chosen cake. Whether using a boxed mix or your favorite homemade recipe, let the cake cool completely after baking. This is crucial as mixing warm cake with frosting can lead to a gooey texture.
2. Crumble the Cake
Once your cake is cooled, crumble it into fine crumbs using your hands or a food processor. Ensure there are no large chunks left, as a uniform crumb texture is key to smooth, even cake pops.
3. Mix with Frosting
Add frosting gradually to the crumbled cake, mixing until the texture is such that it holds together when compressed. You should be able to roll it into a ball without it crumbling apart but be careful not to add too much frosting, which can make the pops too moist.
4. Form the Balls
Use a scoop to measure out even portions, and then roll the mixture into balls. Ensure they are smooth and free of cracks or lines; imperfections can cause issues when dipping.
5. Chill the Balls
Chill the formed balls in the refrigerator for at least two hours, or in the freezer for about 30 minutes. This helps them firm up and stay on the stick when dipping.
6. Prepare the Coating
While the cake balls are chilling, melt your choice of chocolate or candy melts. If using chocolate, consider tempering it to ensure a smooth, glossy finish that snaps when bitten into. For candy melts, you can thin them with a bit of coconut oil or shortening to achieve a smooth dipping consistency.
7. Dip the Sticks
Before inserting the sticks into the cake balls, dip the tip of each stick into the melted coating. This helps the cake ball adhere to the stick more securely.
8. Dip the Cake Pops
Once the cake balls are chilled and firm, dip each into the coating, ensuring it’s completely covered. Tap off any excess to avoid drips.
9. Decorate and Set
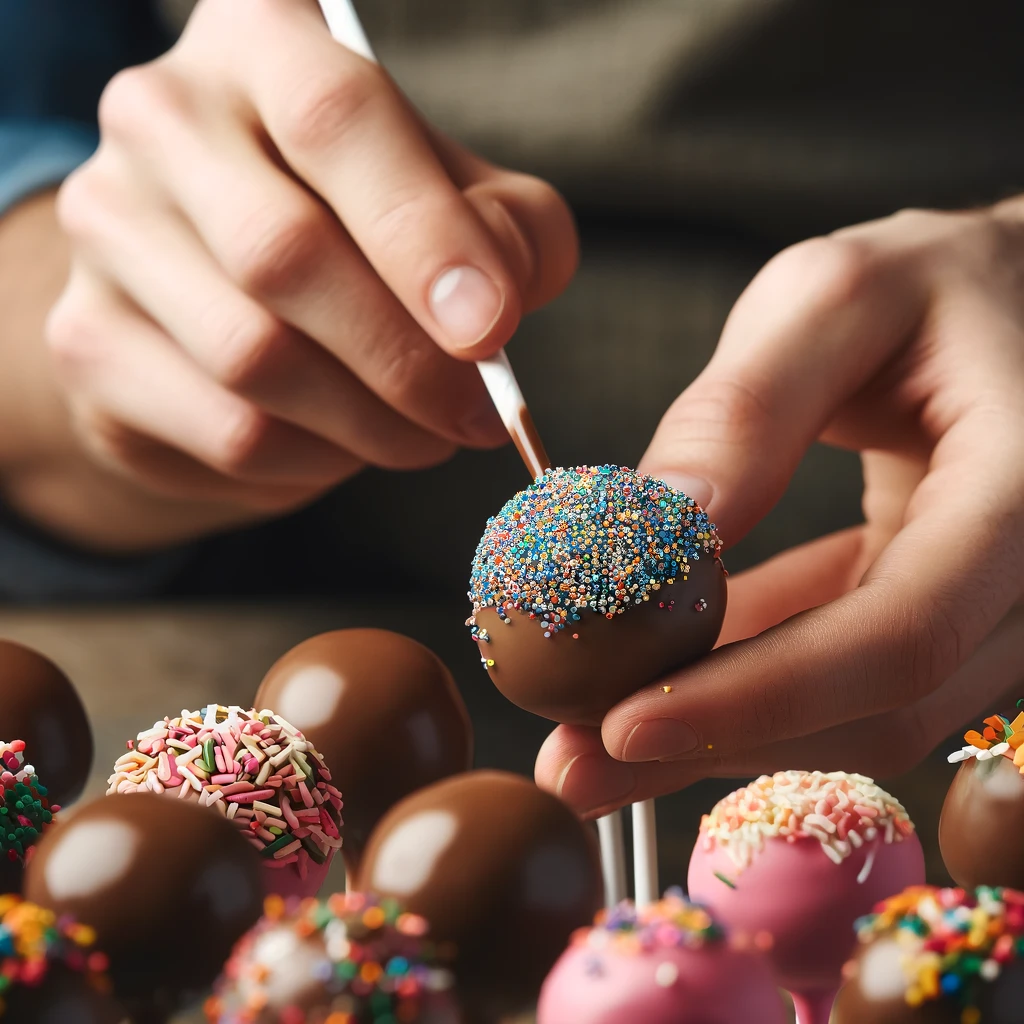
After dipping, add any desired decorations such as sprinkles or other adornments before the coating sets. Then, stick the cake pops into a styrofoam block or cake pop stand to let them dry completely.
10. Storing the Cake Pops
Once the cake pops have dried and set, they can be served immediately or stored. Room temperature is fine for a few hours, while refrigeration can extend their freshness for up to a week. For longer storage, freezing is an option, but ensure they are well-wrapped to avoid freezer burn.
Troubleshooting Common Issues
Even with careful preparation, you might encounter a few challenges when making cake pops. Here are solutions to some common problems:
1. Cake Pops Cracking
If your cake pops crack after dipping, it’s often due to the temperature difference between the cake balls and the coating. To prevent this:
- Ensure the cake balls are not too cold when you dip them — let them adjust to room temperature for a few minutes if they’ve been chilled.
- Avoid overheating the coating as it increases the temperature disparity.
2. Coating Not Smooth
Achieving a smooth, even coating can be tricky but manageable with a few tips:
- If using chocolate, ensure it is properly tempered.
- For candy melts, add a little coconut oil or vegetable shortening to thin the mixture and ensure a smoother coat.
- Dip the cake pop straight down and lift it out without swirling to prevent bumps.
3. Cake Pops Falling Off the Sticks
This can occur if the cake and frosting mixture is too dense or not sticky enough, or if the sticks aren’t inserted properly.
- Dip the tip of the stick in the coating before inserting it into the ball to create a glue-like seal.
- Make sure not to overload the cake ball with coating, which adds weight and might cause slipping.
Advanced Variations and Flavors

Once you’ve mastered the basics, experiment with these creative variations and flavors to elevate your cake pops:
1. Gourmet Flavors
- Matcha Green Tea: Mix matcha powder into a vanilla cake base and use white chocolate for a subtle, sophisticated flavor.
- Espresso Delight: Add finely ground espresso or coffee extract to your chocolate cake mix for a mocha-inspired treat.
- Lemon Zest: Incorporate lemon zest and a touch of lemon extract into your cake mix for a refreshing twist.
2. Filled Cake Pops
Add a small scoop of filling before rolling your cake balls. Here are a few filling ideas:
- Jam or Preserves: Ideal for fruit-flavored cake pops.
- Caramel or Ganache: Perfect for adding a rich, gooey center to chocolate cake pops.
- Cream Cheese Frosting: Works well with red velvet or spice cake bases.
3. Seasonal and Holiday Specials
- Halloween: Create pumpkin spice cake pops with orange-colored coating and use icing to draw jack-o’-lantern faces.
- Christmas: Make peppermint chocolate cake pops dipped in white coating and sprinkled with crushed candy canes.
- Valentine’s Day: Heart-shaped cake pops with a red velvet cake base, dipped in pink or red coating, and decorated with love-themed sprinkles.
Presentation and Serving Ideas
Presentation can elevate the overall appeal of your cake pops. Here are some creative ideas to make your cake pops look as good as they taste:
1. Display Stands
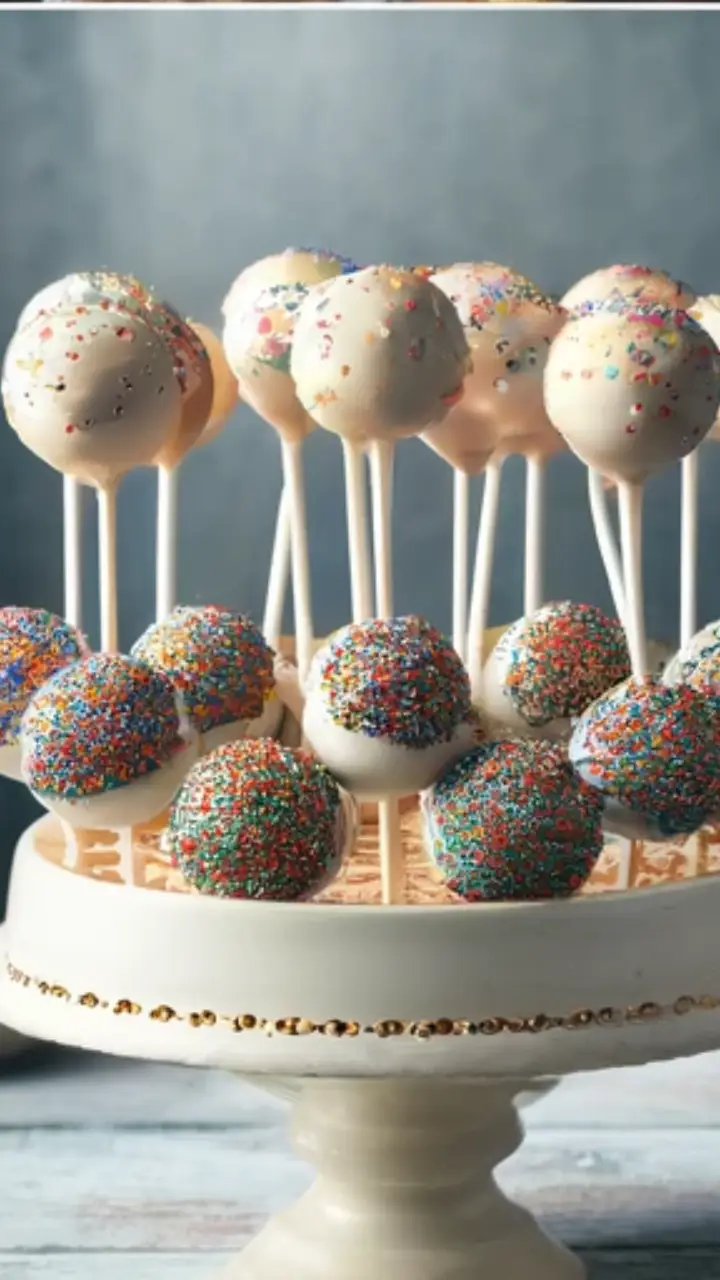
Use stylish cake pop stands to present your cake pops. These stands not only serve as a practical holder but also as an attractive centerpiece for your table setting. You can find stands that match the theme of your event or customize plain stands with decorative elements like ribbons and glitter.
2. Gift Packaging
Cake pops make excellent gifts or party favors. Place them in clear cellophane bags tied with a ribbon or in custom boxes that match the occasion. Adding a personalized tag or sticker with a message can add a thoughtful touch.
3. Themed Decorations

Align the design of your cake pops with your event theme. For weddings, consider elegant designs such as floral accents or monograms. For children’s parties, decorate the cake pops to resemble popular cartoon characters or animals.
Healthier Alternatives
While traditional cake pops are a treat, there are ways to make them healthier without compromising too much on taste:
1. Cake Base
- Whole Wheat or Gluten-Free: Opt for whole wheat flour instead of all-purpose flour to increase the fiber content, or use gluten-free flour blends for those with dietary restrictions.
- Reduced Sugar: Cut down the sugar in the cake recipe or use natural sweeteners like honey or maple syrup as alternatives.
2. Frosting Alternatives
- Greek Yogurt Frosting: Mix Greek yogurt with honey or a little powdered sugar for a healthier frosting alternative that is lower in fat and calories.
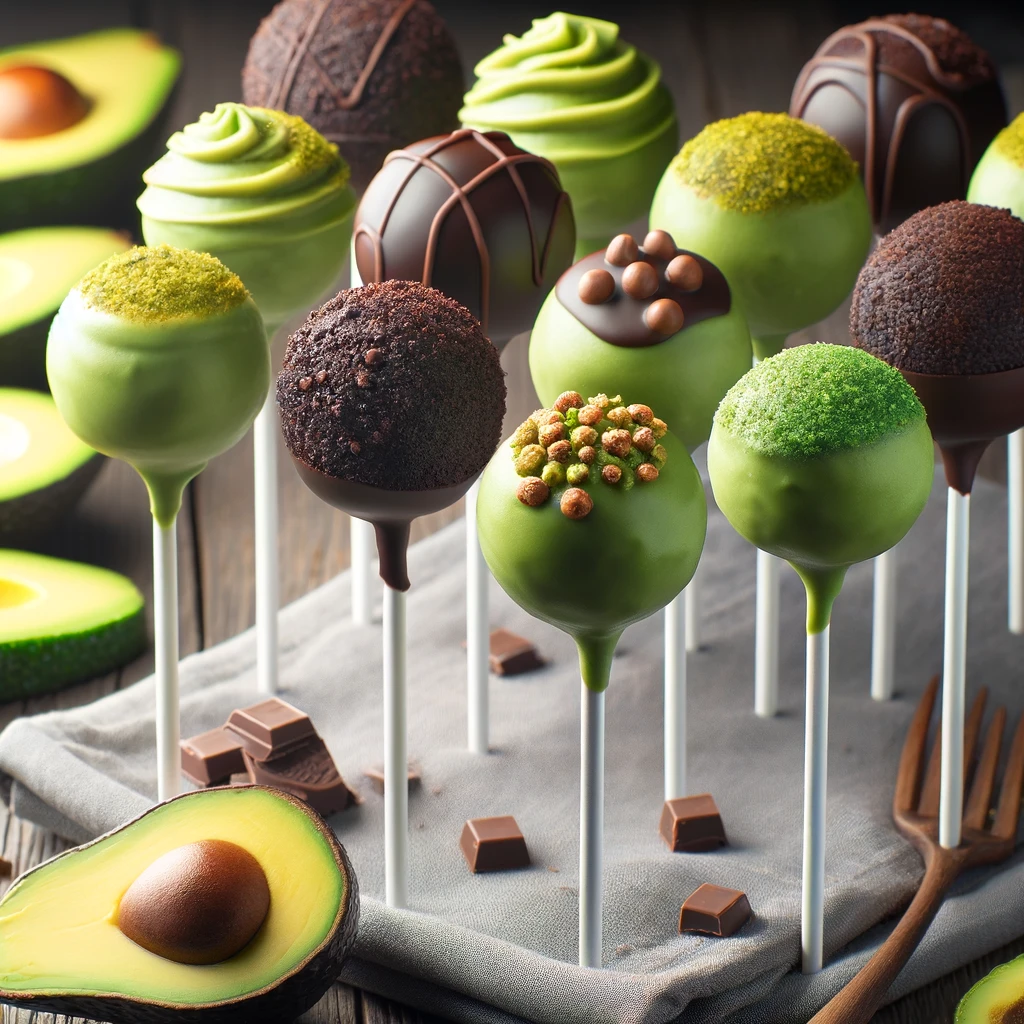
- Avocado Chocolate Frosting: Use ripe avocados blended with cocoa powder and sweetener for a rich, creamy, and heart-healthy frosting.
3. Coatings and Toppings
- Dark Chocolate: Instead of candy melts, dip the cake pops in dark chocolate which contains antioxidants.
- Nuts and Seeds: Decorate with chopped nuts or seeds for added texture and nutritional benefits, like omega-3 fatty acids.
Incorporating Educational Content
When sharing these recipes on your blog, consider including sections that educate your readers about the nutritional content of different ingredients or tips for baking with healthier alternatives. This not only enriches your content but also helps build trust with your audience who may be looking for healthier options.
FAQs
- How do I make cake pops stick together better? Ensure your cake mixture isn’t too crumbly by adjusting the amount of frosting. It should be moist enough to hold its shape when formed into a ball.
- Can I use something other than sticks for cake pops? Yes, you can use straw sticks, coffee stirrers, or even small forks for a unique twist.
- Is there a vegan coating alternative to candy melts? Vegan candy melts are available in some specialty stores, or you can use a vegan chocolate brand suitable for melting.
- How long can I store cake pops? Cake pops can be stored in an airtight container at room temperature for up to a week, in the refrigerator for two weeks, or in the freezer for up to a month.
- Can I make cake pops vegan or gluten-free? Absolutely! Use your favorite vegan or gluten-free cake and frosting recipes, and ensure your coatings and decorations meet the dietary requirements.
- What’s the best way to melt chocolate for cake pops? Melting chocolate in a double boiler is ideal as it allows you to control the temperature closely. Alternatively, you can use a microwave in short bursts, stirring in between to prevent overheating.
Conclusion
Making and decorating cake pops is an art that allows for endless creativity and personalization. By following this detailed guide, you can create stunning, delicious, and even healthier versions of this popular treat. Remember, the key to perfect cake pops is patience and practice, so don’t hesitate to experiment with different flavors, decorations, and techniques.
For more amazing recipes check our baking category

